I have a new portfolio site, check it out :)
http://danimix1983.weebly.com/
viernes, 9 de marzo de 2012
martes, 6 de marzo de 2012
New Video: Eurocopa 2012 parody - Selección Española
I have painted all the players on pothoshop with a wacom tablet intuos 4 S, the animation was made in Maya. Hope you like it!
Los jugadores los he pintado con photoshop utilizando una tabla digital Wacom Intuos 4 S, la animación está hecha en Maya, espero que te guste!
martes, 14 de febrero de 2012
Camisetas Cartoon de los jugadores de la selección Española
Camisetas estilo cartoon que he diseñado, todas las camisetas en:
T-Shirts I have designed, here:
http://www.latostadora.com/danimix1983
Cada semana nuevas caras!
Every week new faces!
T-Shirts I have designed, here:
http://www.latostadora.com/danimix1983
Cada semana nuevas caras!
Every week new faces!
martes, 7 de febrero de 2012
Mutant
I did this work using some references, a Jason Sthatan photo (one of my fav actors) and some others ^^.
Used photoshop, 2 hours of work.
Hope you like it!
Used photoshop, 2 hours of work.
Hope you like it!
sábado, 12 de marzo de 2011
New Video : Jack Sparrow
I uploaded a new Video :)
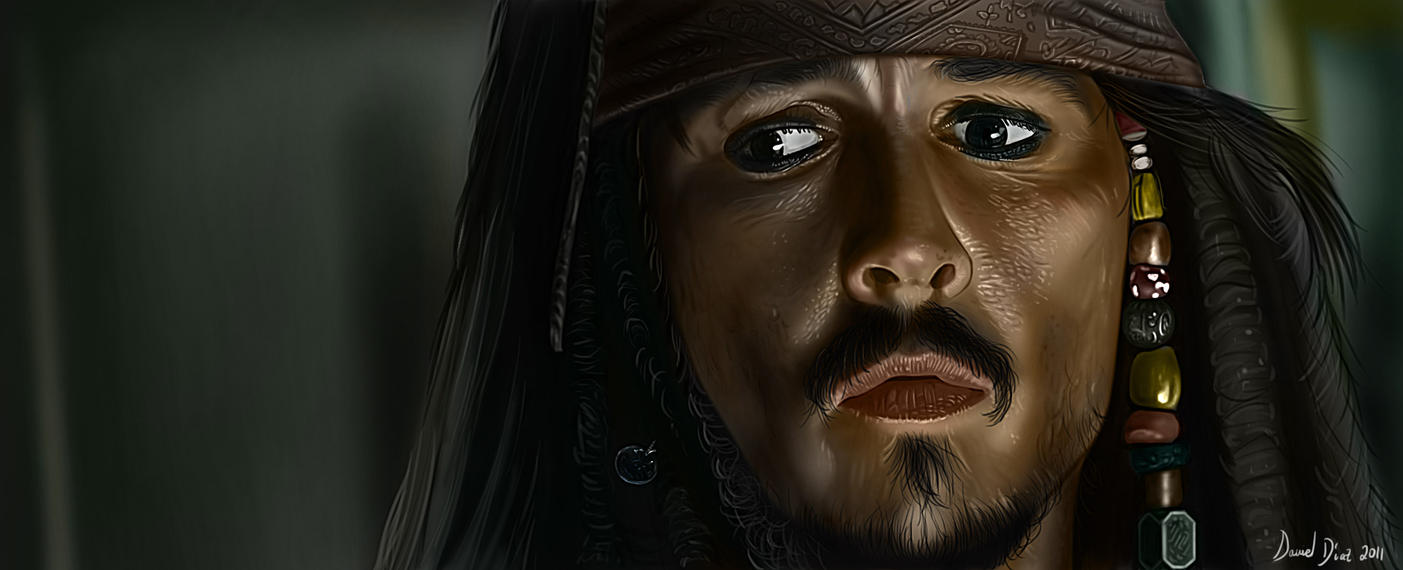
A portrait of Jack Sparrow from Pirates of Caribbean done with a wacom tablet and photoshop.
Time of work: 4 hours
Tutorial here: http://danimix1983.blogspot.com/2011/01/photoshop-tutorial-how-to-make-digital.html
Video:
A portrait of Jack Sparrow from Pirates of Caribbean done with a wacom tablet and photoshop.
Time of work: 4 hours
Tutorial here: http://danimix1983.blogspot.com/2011/01/photoshop-tutorial-how-to-make-digital.html
Video:
Final Pic:
martes, 15 de febrero de 2011
Photoshop Tutorial: How to make hair
On this tutorial I´ll explain how I make the hair on my digital portraits.
This example is a 15 min work.
We´ll need 3 layers and 3 different brushes, one brush for each layer.
Hair layers.
All of these layers have Normal mask
with 100% Opacity and 100% fill.
Start painting on layer1: Basic Hair Tones
Brush1 settings
Select a Hard Round Brush and configure it like the pic shows.
Also On Brush Tip Shape set: 5% Spacing and 25% hardness.
Press F5 to open the Brush settings window and configure it like the pic shows.
If you want to save this brush, here is explained how:
http://danimix1983.blogspot.com/2011/01/photoshop-tutorial-ironman-metal-effect.html
You should get something like this: (All done on layer1 with brush1 and playing with some color)
Layer2: Adding volume and details on the hair.
You will need another brush for painting on this layer.
Brush2 settings:
The brush is under default brushes, named
Round Fan Stiff Thin Bristles, select it and
Press F5 to open the Brush settings window.
Configure it like the pic shows.
Only check transfer with pen Pressure on.
You should get something like this: (All done on layer2 with brush2)
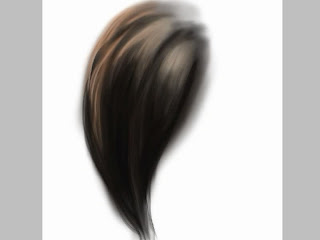
Redefine edges on layer1 erasing some parts.
Layer3: Final touches:
You will need another brush for painting on this layer.
Brush3 settings:
This brush is great for adding smalls details on the hair.
This is the result using this brush on layer3:
This example is a 15 min work.
We´ll need 3 layers and 3 different brushes, one brush for each layer.
Hair layers.
All of these layers have Normal mask
with 100% Opacity and 100% fill.
Start painting on layer1: Basic Hair Tones
Brush1 settings
Select a Hard Round Brush and configure it like the pic shows.
Also On Brush Tip Shape set: 5% Spacing and 25% hardness.
Press F5 to open the Brush settings window and configure it like the pic shows.
If you want to save this brush, here is explained how:
http://danimix1983.blogspot.com/2011/01/photoshop-tutorial-ironman-metal-effect.html
You should get something like this: (All done on layer1 with brush1 and playing with some color)
Layer2: Adding volume and details on the hair.
You will need another brush for painting on this layer.
Brush2 settings:
The brush is under default brushes, named
Round Fan Stiff Thin Bristles, select it and
Press F5 to open the Brush settings window.
Configure it like the pic shows.
Only check transfer with pen Pressure on.
You should get something like this: (All done on layer2 with brush2)

Redefine edges on layer1 erasing some parts.
Layer3: Final touches:
You will need another brush for painting on this layer.
Brush3 settings:
This brush is great for adding smalls details on the hair.
This is the result using this brush on layer3:
Finally we can soft a little the hair:
Select the smudge tool:
Smudge tool + brush2 and paint on the same direction you painted the hair with 75% strength.
Here are some results using this method:
Suscribirse a:
Entradas (Atom)