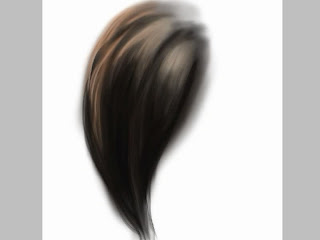
This example is a 15 min work.
We´ll need 3 layers and 3 different brushes, one brush for each layer.
Hair layers.
All of these layers have Normal mask
with 100% Opacity and 100% fill.
Start painting on layer1: Basic Hair Tones
Brush1 settings
Select a Hard Round Brush and configure it like the pic shows.
Also On Brush Tip Shape set: 5% Spacing and 25% hardness.
Press F5 to open the Brush settings window and configure it like the pic shows.
If you want to save this brush, here is explained how:
http://danimix1983.blogspot.com/2011/01/photoshop-tutorial-ironman-metal-effect.html
You should get something like this: (All done on layer1 with brush1 and playing with some color)
Layer2: Adding volume and details on the hair.
You will need another brush for painting on this layer.
Brush2 settings:
The brush is under default brushes, named
Round Fan Stiff Thin Bristles, select it and
Press F5 to open the Brush settings window.
Configure it like the pic shows.
Only check transfer with pen Pressure on.
You should get something like this: (All done on layer2 with brush2)

Redefine edges on layer1 erasing some parts.
Layer3: Final touches:
You will need another brush for painting on this layer.
Brush3 settings:
This brush is great for adding smalls details on the hair.
This is the result using this brush on layer3:
Finally we can soft a little the hair:
Select the smudge tool:
Smudge tool + brush2 and paint on the same direction you painted the hair with 75% strength.
Here are some results using this method:


